Moosend: Grow Your List Today!
You’ll turn new signups into real relationships, not just names on a list. I’ll show you simple flows that welcome, teach, and invite without pressure. You’ll ship it fast and feel proud every time an email lands where it should. Your future self will thank you.
Friend to friend: a few links are affiliate links. When you purchase, I might get a tiny thank-you from the company, with zero added cost to you. I only recommend things that I’ve actually tried and looked into. Nothing here is financial advice; it is for entertainment. Read the full affiliate disclosure and privacy policy.
Ship your first Moosend journey today. Pick a trigger, stack two actions, and tag clicks to route interest—no devs, no guesswork. A weekend setup that grows with you.
Moosend runs on three simple parts: triggers, conditions, and actions.
You start in Select a Trigger, choosing categories like Email engagement, List engagement, Scheduling, or Website engagement, and you can set Trigger only once? for clean entries.
Then you build the path with Add flow step → Select action to send emails, add delays, tag contacts, or move people to a list.
Smart targeting keeps messages relevant: create segments from opens, clicks, and fields you already track, and let them update themselves as behavior changes.
In this guide you will launch three starter journeys, wire segments to feed them, and map each email to a clear stage in the customer path—always using the exact labels you see in Moosend so you can click with confidence.
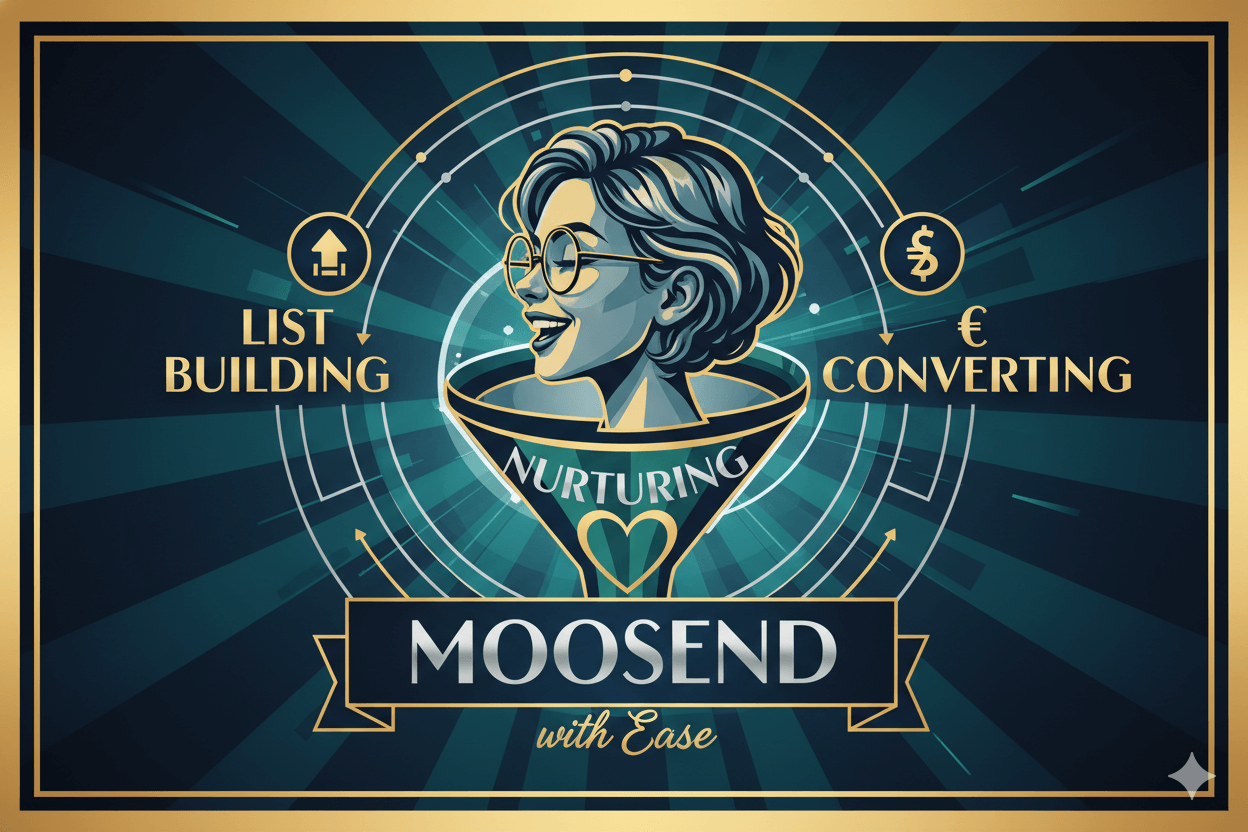
Quick Wins with Moosend Journeys: Triggers, Conditions, Actions
Pick a trigger, add one condition, ship an action stack in minutes.
Moosend’s trigger picker groups real-world starts like Email engagement, List engagement, Scheduling, Website engagement, and Lead generation.
You also get a Trigger only once? control to prevent repeat firing when you only need a first-time entry.
Once a trigger is set, add Conditional/Control steps for filters and waits, then layer Actions such as Send email, Add to list, Increase/decrease custom field, or Trigger another automation when it’s time to chain flows.
If you prefer a guided start, the Workflow Builder page shows the same triggers, conditions, and actions in a clean canvas you can edit, duplicate, or share as your library grows.
Choose a Trigger: Email/List/Scheduling/Website/Lead Gen
Open your journey with a clear start signal. The Different types of triggers guide lists all categories and reminds you that each trigger has parameters you set before saving.
Start with Email engagement or List engagement if you want a beginner-friendly launch point.
For manual tests or special cases, you can trigger an automation manually for one or many contacts from your list—useful for QA before you scale.
Add Actions: Send Email, Add to List, Delays, and More
Click Add flow step → Actions to do the work: send a message, add a delay, tag, update fields, or even trigger another automation once a step completes.
This is also where you enforce stop rules by moving people to a different pathway after they act.
When your timing matters, add a Wait a specific time interval control to space out touches cleanly.
Conditions & Branching: When to Split Paths
Add Conditional/Control steps to filter who moves forward or to create A/B-style split paths and percentage-based tests. Filters focus the journey.
Controls handle timing, so each step fires at the right moment… and your sequence stays calm and readable.
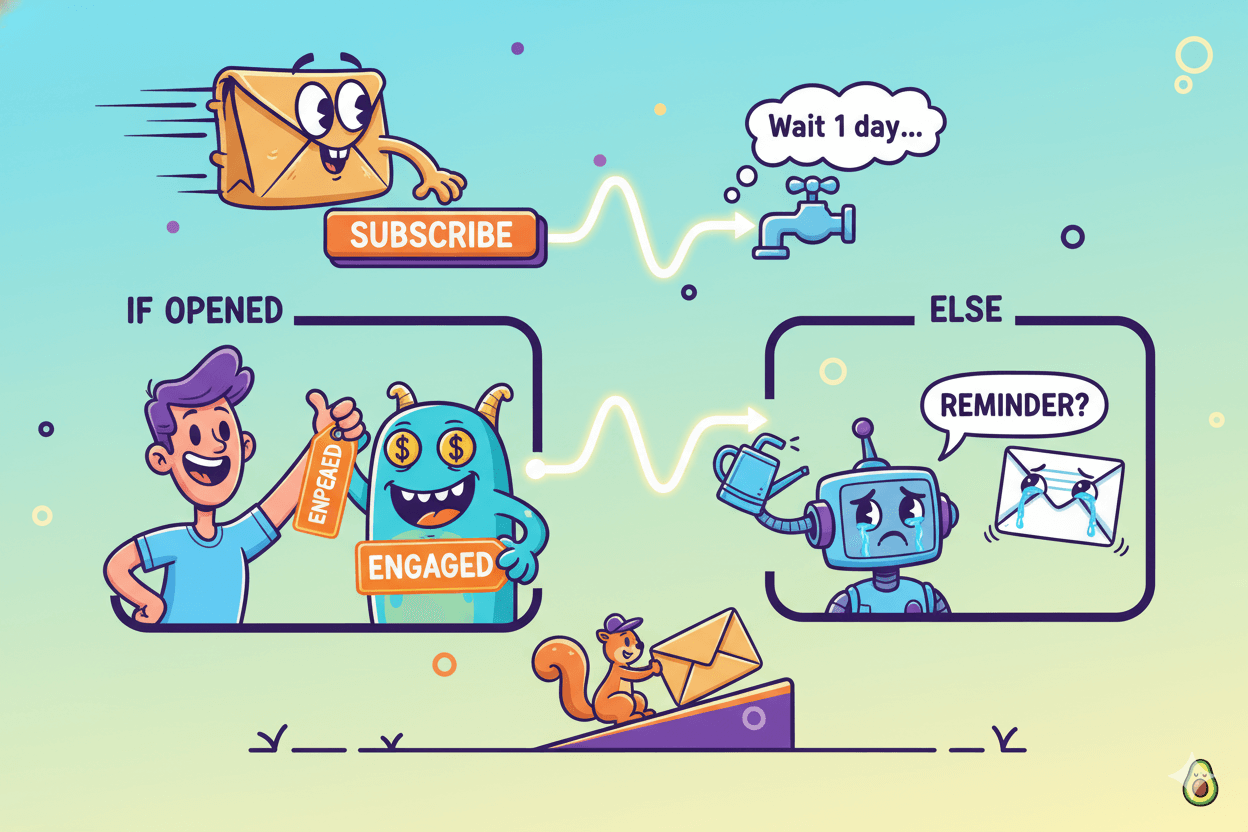
quick_win: Build a “hello world” flow. Trigger = List engagement: when someone subscribes → Wait 1 day → Send email: Welcome → Condition If opened → Path A Tag: Engaged; Else Path B Send email: Reminder. Activate, then watch in the builder’s canvas.
Starter Journey #1: Welcome → Nurture → First Offer
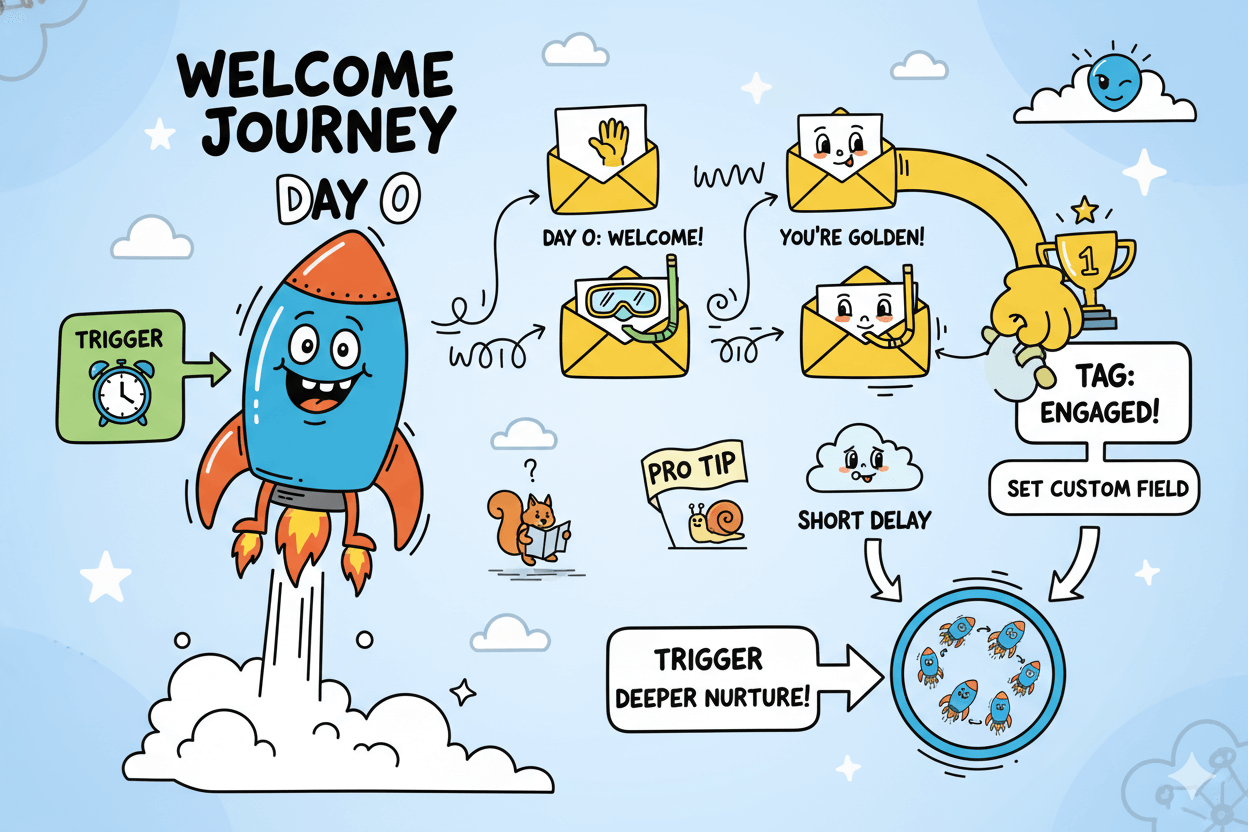
Turn signups into trust in three emails: welcome, teach, invite.
Start by creating a custom automation. In Moosend, go to Automation → New → Custom automation, name it, then choose how it begins. For most lists, pick a signup trigger.
or testing or migrating contacts, use a manual trigger to start the journey for one or many addresses without waiting for a live event.
Add timing next. A welcome that lands right away feels personal; a second message two days later keeps momentum; a third at day five invites action.
The official walkthrough models this exact shape—trigger, waits, then messages—so you can mirror it with confidence.
Now stack actions.
Click Add flow step → Actions to Send email, Add to list, or Update a field.
These actions bring the journey to life and keep data tidy for future targeting. If you tag clickers or set a custom field, you can segment them for follow-ups automatically.
Trigger: Form Submit or Manual Start for Imports
Use a form-based signup trigger for production lists. For QA, seed cohorts with Trigger an automation manually from your list members screen. This lets you verify timing, content, and tags before you send to everyone.
Messaging & Delays: Day 0, Day 2, Day 5
Follow the welcome walkthrough: name the flow, set the trigger, add waits, and write messages that match each moment. Keep the first email short, the second educational, and the third invitational.
The Moosend tutorial shows where to place each step.
Actions & Tags: Track Interest and Route
From Add flow step → Actions, send your emails and attach lightweight data: Then add tags or Then set a custom field value.
Tags power quick segments and next-step automation, and field updates preserve context for sales or future campaigns.
pro_tip: After your third email, add a short delay and a Trigger an automation action that hands off engaged subscribers to a deeper nurture. Keep the welcome uncluttered and let the next flow do the heavy lifting.
Starter Journey #2: Link-Click Interest Builder
When they click, respond: one trigger, one targeted follow-up.
Use the Email engagement → Link click trigger from the Select your trigger dialog. This trigger belongs to Moosend’s engagement category and supports parameters you control, including whether it should fire one time or every time.
Pick the behavior that matches your campaign goal, then save the choice so the journey listens exactly as you intend.
After the trigger, add Actions to deliver the response: send a targeted email, add a short delay, add tags for interest labeling, or update a field for deeper personalization later.
These actions live under Add flow step → Select action → Actions, and they are the building blocks that convert clicks into momentum.
If you want your follow-ups to be even smarter, feed click data into Segments. Moosend lets you create segments using opens, clicks, and existing fields so future campaigns can focus on people who proved interest with that tap.
Define the Link-Click Trigger and Parameters
Open your workflow and click Select your trigger. Navigate to Email engagement and choose Link click. In Trigger only once?, select the option that fits your plan.
Use first click for onboarding or a one-time opt-in, and every click for ongoing campaigns where each click deserves a response. Save the configuration to lock the behavior.
Actions After Click: Send, Tag, or Branch
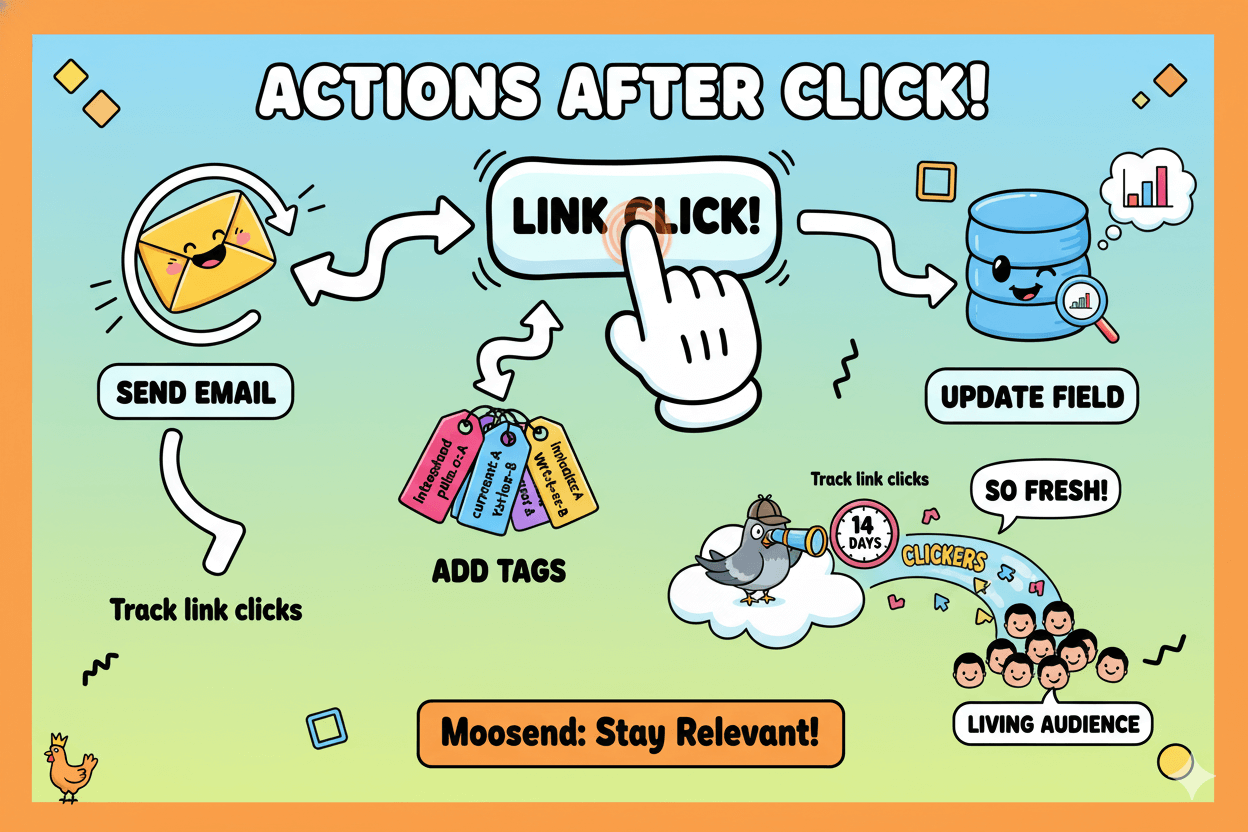
Click Add flow step → Actions to define what happens next. Common choices: Send email with the promised resource, Then add tags like “interested-product-A,” or Update a field to store the interest for future targeting.
Each option is documented and quick to configure. For reporting and tuning, view Track link clicks in campaign reports to see which links earned attention and refine the follow-up timing.
When you are ready to scale, route tagged clickers into segments that constantly update. Build a segment rule like “clicked campaign X in last 14 days,” then aim your next send at this living audience. It stays fresh… and you stay relevant.
Starter Journey #3: Inactivity → Re-Engagement
Start from the Re-engagement recipe and customize three humane messages.
Quiet subscribers still care… they just need a clear, friendly nudge.
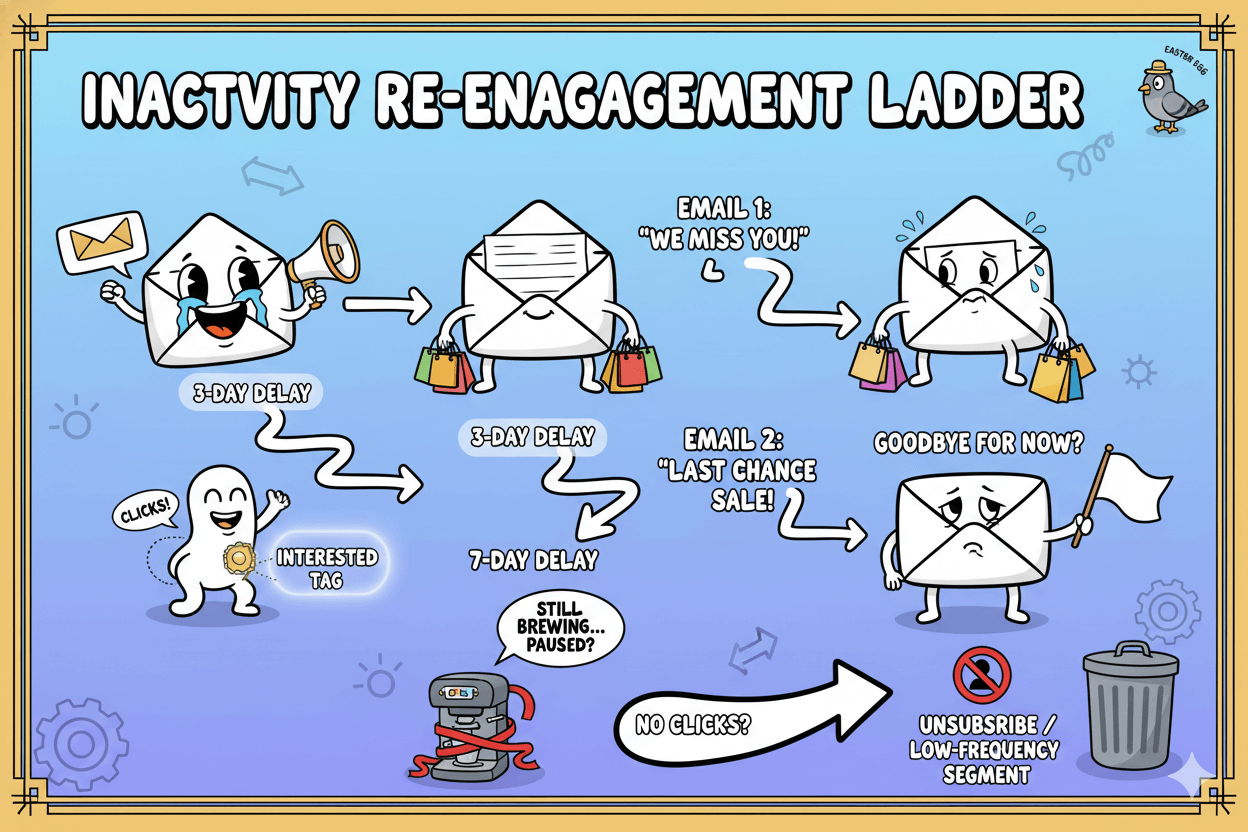
In Moosend you can start from a ready-made Re-engagement recipe, customize timing, and guide people through a three-message ladder that checks in, offers value, and then lets them choose what comes next.
The result is tidy, human, and maintainable.
Open Automation → New and pick a Re-engagement recipe as your base. Recipes give you the scaffolding so you only fine-tune delays and messages.
If you prefer to build from scratch, create a Custom automation, choose your start condition, and then add the steps you need in the designer.
Next, place your steps. Click Add flow step → Actions to stack the moves: Send email, Add tags, Set custom field, or Trigger another automation when a subscriber reactivates.
These options live in the Select action dialog and include list hygiene tools like Then unsubscribe from list when someone opts out.
For copy inspiration, Moosend’s re-engagement examples show subject lines and angles you can adapt right away. Keep the language warm, short, and helpful.
Choose and Customize a Re-Engagement Recipe
Pick the Re-engagement template from Moosend’s Automation Recipes library. It’s faster than building every branch and already models an inactivity scenario.
Adjust the inactivity window and the delays between messages to match your audience’s rhythm.
Write the Three Messages: Nudge, Value, Last Chance
- Message 1: a gentle “still with us?” check-in.
- Message 2: deliver value now—guide, coupon, or content your audience already asked for.
- Message 3: a clear preferences choice or a break option. Moosend’s gallery of re-engagement examples makes tone and structure easy to copy without guesswork.
Suppress Non-Responders and Reset Frequency
Use Add tags or Set custom field to label anyone who clicks so later campaigns can target interest automatically.
If a subscriber remains inactive, you can unsubscribe from list via an action, or move them to a low-frequency segment to reduce fatigue.
Keep the automation active rather than pausing mid-flow, since pausing halts people at their current step.
Segments that Drive Conversions
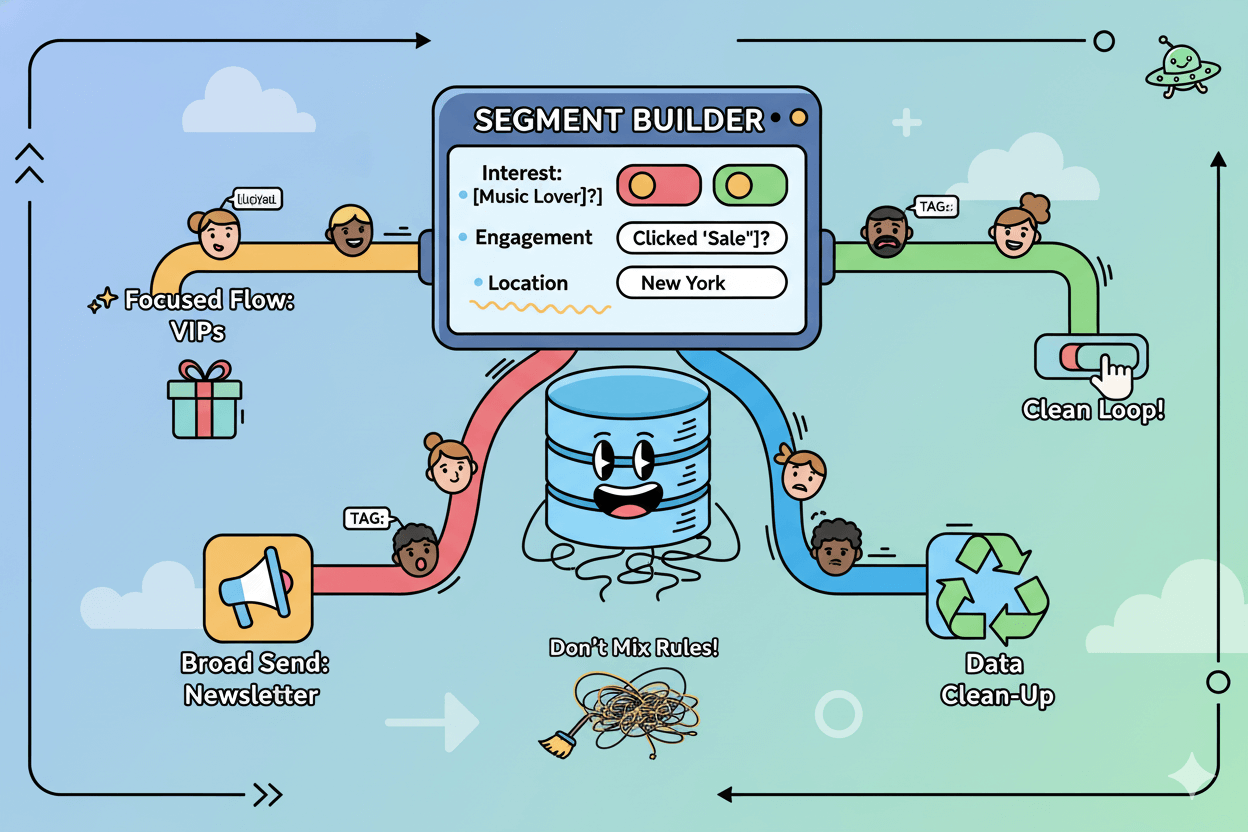
Build living segments from clicks and fields—rules do the sorting.
Segmentation in Moosend groups people by what they do and who they are, so every send feels timely and useful.
You can build rules from engagement like opens and clicks, plus fields you already track, then let the list update itself as behavior changes.
Start with the basics. In Moosend, a segment rule uses a Field (the data point), a Comparer (how you match it), and a Value. You can also choose how multiple rules combine using MatchType.
This vocabulary keeps segments predictable and easy to tune later.
For practical targeting, lean on the standard criteria plus engagement data. Moosend’s Segmentation criteria reference shows the rule types available, including activity from previous campaigns.
That means you can define segments like “clicked any campaign in 14 days” or “opened welcome email but didn’t click.”
As your journeys run, use tags and field updates to mark interest. Those labels become inputs for future segments or even triggers by themselves.
Engagement Segments from Opens and Clicks
Create living audiences from campaign activity. Moosend’s Work with segments guide shows how to target people who opened, clicked specific links, or met thresholds like “clicked more than X times.”
These rules use data Moosend already collects, so setup is quick.
Pair this with a lightweight tagging habit. When someone clicks a product link, add a tag such as “interest-product-A.” That tag can both filter future sends and trigger its own automations if you choose.
Criteria & Comparers: Build Rules That Update Themselves
Use the Segmentation criteria list to see which fields support which comparers. For example, date fields support before/after ranges, while text fields support equals/contains.
The API intro clarifies the mental model without requiring you to code: Field, Comparer, Value, plus how rules combine.
Result: your segment “stays alive.” As soon as a subscriber meets or no longer meets the rule, Moosend moves them in or out automatically.
Route Segments into Journeys Automatically
Segments are more than lists; they are fuel for automations. Use tagged interest or engagement-based segments to enter people into focused flows, and use Actions to update tags and fields as they move, keeping the data loop clean.
For broad sends, reference campaign types and aim at a single, well-defined segment per message.
do’s_and_don’ts:
Do define one clear job per segment. Do tag on key clicks. Don’t mix unrelated rules in one audience. Keep segments tight so your automations stay predictable.
Stage Mapping: Awareness → Loyalty
Five stages, one email type each—keep planning calm.
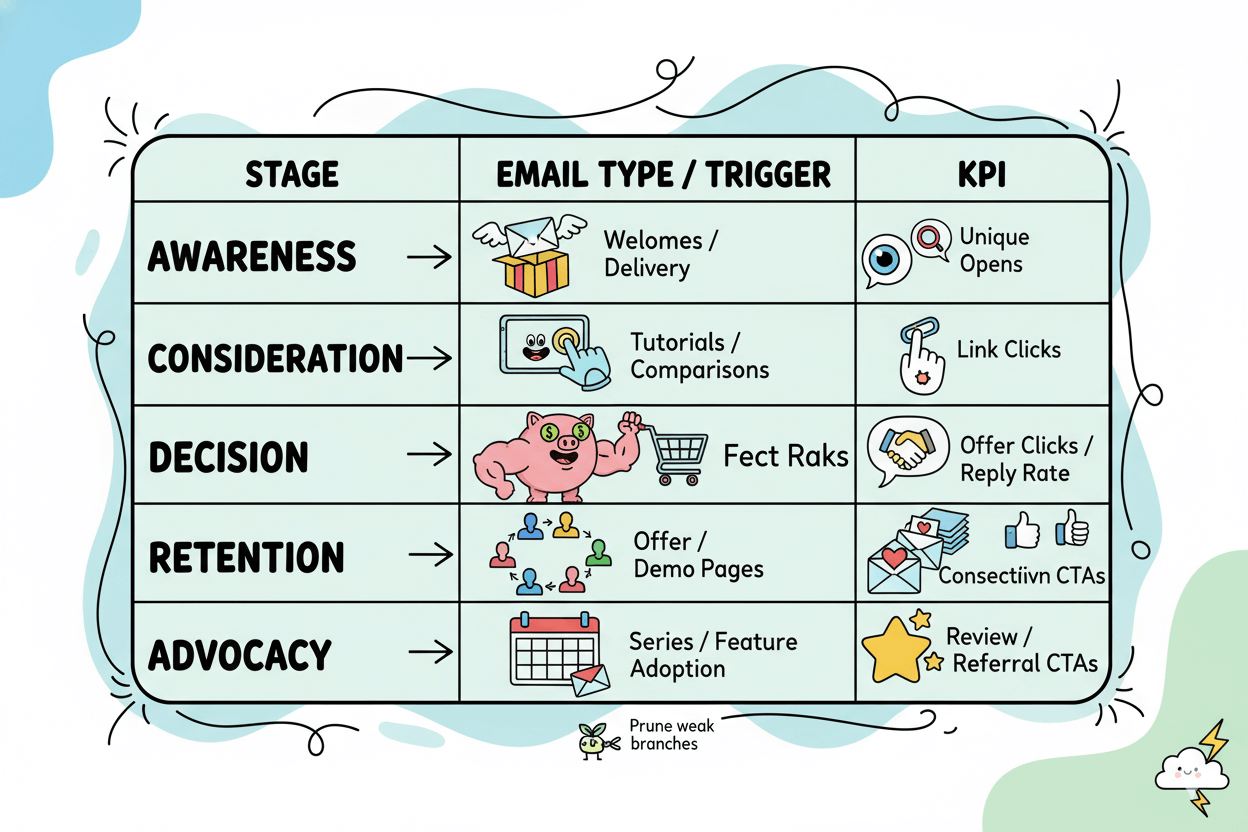
Every email earns a job. Map your messages to five simple stages so each send moves people forward with purpose: awareness, consideration, decision, retention, and advocacy.
This model is common across leading journey guides and keeps planning calm and consistent. – Omnisend
The Five Stages and Email Types
Use a short menu of email types for each stage.
- Awareness: short welcome, brand story, lead magnet delivery.
- Consideration: tutorials, comparisons, case snippets.
- Decision: time-bound offer, demo invite, consult.
- Retention: onboarding tips, usage nudges, renewal reminders.
- Advocacy: referral ask, review request, community highlight.
Omnisend’s 2025 customer-journey reference outlines this five-stage arc and aligns with other lifecycle explainers, so you can standardize language across campaigns.
Triggers That Start Each Stage
Pick triggers that naturally open the door to each stage in Moosend’s Select a Trigger dialog.
- Awareness → List engagement: when someone subscribes or Lead generation: form submitted.
- Consideration → Email engagement: link click on an educational send.
- Decision → Email engagement: link click on pricing/demo, or Website engagement if tracked.
- Retention → Scheduling for onboarding steps or Profile management updates.
- Advocacy → Email engagement: link click on “review/referral” prompts.
Moosend documents the trigger types and parameters, including Trigger only once?, so you can control scope and prevent loops.
KPIs to Monitor as You Scale
Match one lead metric to each stage and review it in Campaign Reports → Performance overview.
- Awareness: unique opens on welcomes and delivery emails.
- Consideration: link clicks on tutorials or comparisons.
- Decision: clicks to offer/demo pages and follow-up reply rate.
- Retention: consecutive opens or feature adoption proxies from series.
- Advocacy: clicks on review/referral CTAs.
Moosend’s reports surface unique opens, link clicks, unsubscribes, bounces, and per-recipient activity; you can also export or share sections for team visibility.
Use these dashboards weekly to prune weak branches and double down on winning triggers.
Optimize and Scale: Chaining, Governance, and Maintenance
Chain with ‘Trigger an automation,’ test on a duplicate, and never strand users.
Growth stays clean when your flows know where to go next and when to stop. Moosend gives you precise controls to chain journeys, document changes, and test safely before you roll out.
Use Actions for the heavy lifting, Conditional/Control steps for timing and branching, and keep your library tidy as you expand.
After a subscriber completes a step, add downstream moves with Add flow step → Select action → Actions. Common scale-ups include Send email, Add to list, Update field, and Trigger an automation to hand off into a deeper sequence without bloating the first flow.
These actions are configured inside the Select action dialog and run when the trigger or condition is met.
Pair actions with Conditional/Control steps to space touches and avoid rapid-fire sends. Use Wait a specific time interval between key stages, or set a Split Flow to route a percentage of contacts for testing.
The control menu lives under Conditional/Control steps in the same Add flow step panel.
If you plan to pause a journey, prefer finishing the current cohort first. The platform warns that disabling or modifying an automation halts users at their current step and they will not continue when you re-enable it.
Keep core automations active and iterate on a duplicated copy instead.
Chain and Stop: Build Safely with Actions and Rules
Open your workflow, click Add flow step, and choose Actions to append the next move. Use Trigger an automation for clean handoffs, and Update field or Add to list to mark outcomes that later flows can read.
This keeps early journeys lean and prevents loops.
Versioning and Sharing: Keep a Clean Automation Library
As your library grows, use the Work with automations panel to find the automation ID, duplicate flows before edits, merge or delete obsolete steps, leave notes, and even share a workflow to another Moosend account.
This governance view centralizes maintenance so teams stay aligned.
Manual Triggers for QA and Controlled Launches
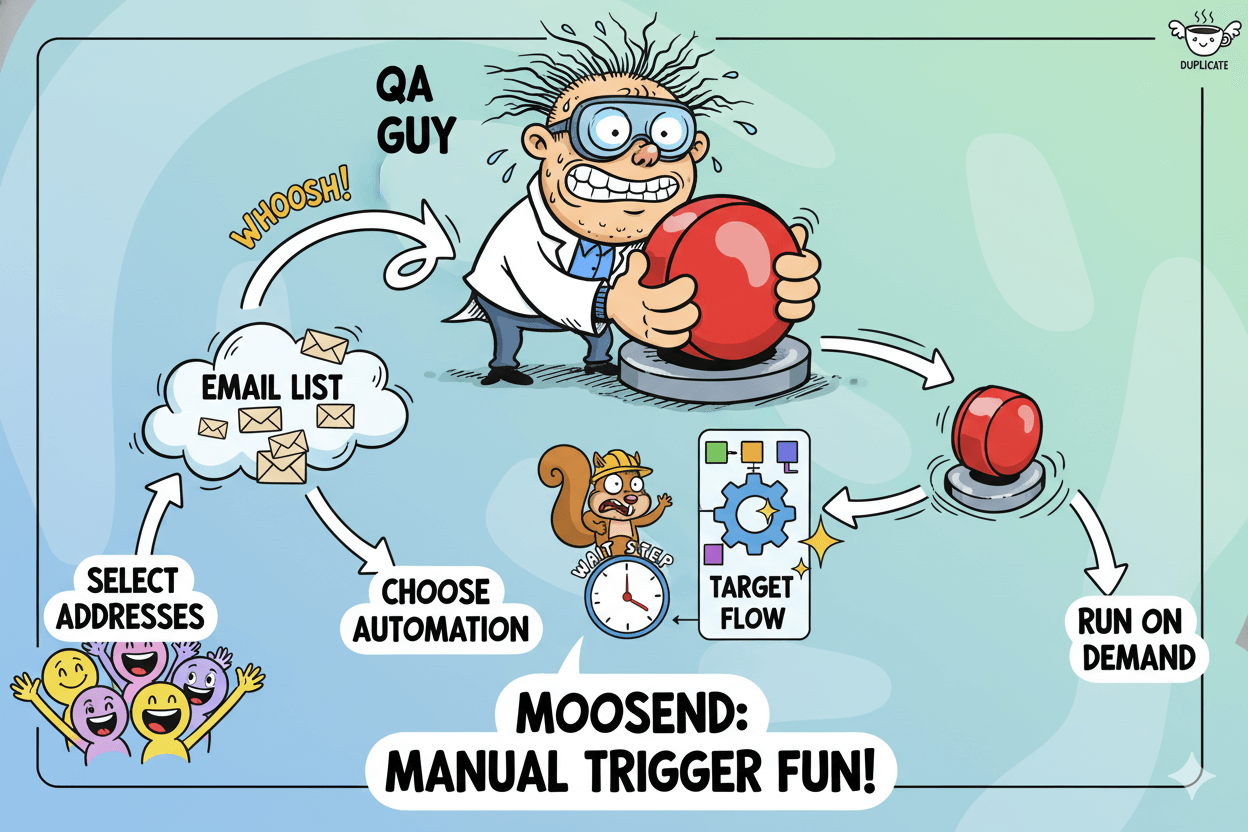
For smoke tests or backfills, Trigger an automation manually from an email list. Select one or many addresses, choose the target automation, and run it on demand.
This lets you validate waits, branching, and tags without waiting for organic events.
do’s_and_don’ts:
Do duplicate before major edits. Do add Wait steps to protect pacing. Don’t pause core flows mid-flight; ship changes in a new copy and swap entry points when ready.
Conclusion
You now have a simple, durable system: start journeys with a clear trigger, shape the path with conditions, and move people with actions.
In Moosend, that sequence mirrors the interface itself—Select your trigger, tune parameters like Trigger only once?, then add the exact steps your flow needs.
Use actions to do the work: Send email, Add to list, Set custom field value, or even Trigger another automation when it is time to hand off without bloating your first journey.
For QA and migrations, you can trigger an automation manually from an email list so you validate waits, tags, and branching before full rollout.
When you need speed, start from automation recipes such as Welcome or Re-engagement, then adjust delays and messages to match your audience.
Recipes give you scaffolding that aligns with best-practice sequences and saves time. As you scale, manage safely: duplicate before big edits and avoid pausing active core flows.
Moosend warns that disabling or modifying an automation halts people at their current step and they will not continue when you re-enable it—governance matters as you grow.
Next steps are clear: publish the welcome flow today, add a link-click branch for interest tomorrow, and schedule a re-engagement ladder for silent subscribers.
Keep segments fresh with tags and field updates from your actions, and review performance weekly.
Your journeys will stay organized, your targeting will stay sharp, and your workload will stay light—because the work is in the system now, not on your plate.

Moosend: Segments That Sell While You Sleep
