
MultiLipi: Make Your Site Bilingual to Reach a New Audience
You don’t need a code-developer for this. Add languages in just a few minutes and make your website feel way bigger right away! It’s super easy, kinda like counting one, two, three! Your customers will finally read your good stuff in their own words.
Friend to friend: a few links are affiliate links. When you purchase, I might get a tiny thank-you from the company, with zero added cost to you. I only recommend things that I’ve actually tried and looked into. Nothing here is financial advice; it is for entertainment. Read the full affiliate disclosure and privacy policy.
Build your multilingual site today. Add 1–3 languages, keep your URLs clean, and switch on hreflang so the right readers land on the right pages—fast.
Multilipi gives you AI translations, a visual editor, and multilingual SEO features in one place, which removes most setup friction for beginners.
It supports 120+ languages and is available on WordPress.org with a hosted guide that walks through install, language setup, and the language switcher.
You focus on content and checks; the tool handles URLs, strings, and metadata. – WordPress
After launch, you’ll validate language signals with hreflang and alternates, then submit or reprocess sitemaps in Search Console and spot-check pages with the URL Inspection tool.
This keeps indexing tidy and prevents wrong-language results.

Plan your 1-day build
Pick 1–3 languages, list the pages that pay the bills, and lock your URL plan first.
Pick languages and KPIs
Start with the languages that already show demand. Check your analytics and customer messages for clear signals, then pick 1–3 languages for day one so quality stays high and edits stay manageable.
Mainstream walkthroughs use the same sequence: choose languages, set the plugin, and proceed to content. Track two KPIs from the start: pages published per language and conversions from translated pages.
pro_tip: If you run WordPress.com or plan to, note that multilingual options differ from self-hosted WordPress. Confirm your plan and features before you scope work.
Scope pages and products for day-one
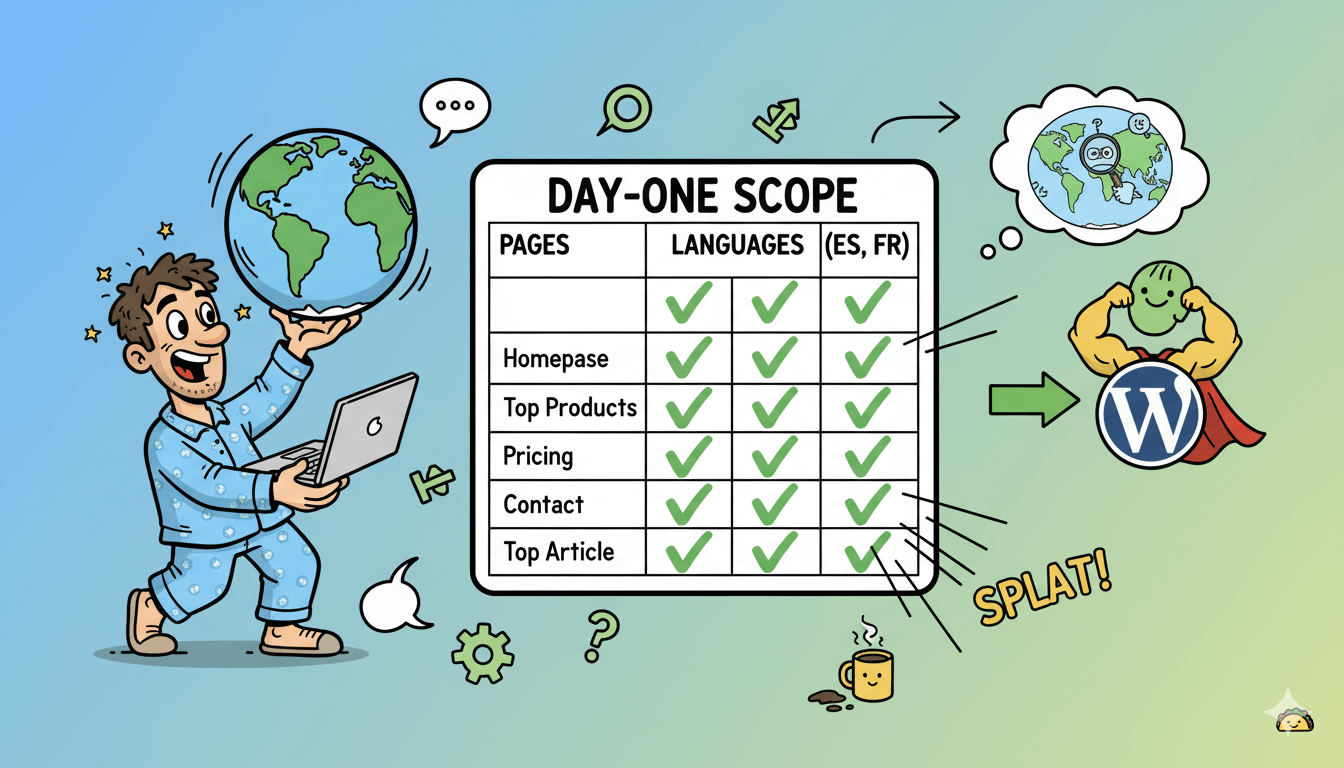
Inventory what matters most: homepage, top product or service pages, pricing, contact, and any article that already earns traffic.
Kinsta’s experience-led guide recommends prioritizing core templates and working in passes instead of boiling the ocean. Translate these first, then menus, widgets, and forms so navigation stays consistent. – Kingsta
Keep your structure decision in view while scoping. If you plan subdirectories like /es/ or /fr/, lock that choice now so slugs, menus, and internal links align from the first publish.
WordPress.com’s support notes common approaches and is a good reminder to decide structure before you start pressing “Translate.”
Plan your verification steps, too. After you publish the first batch, you will confirm that Google sees the right language with URL Inspection in Search Console, then fix anything before scaling to more pages or another language.
A quick checklist here saves hours later.
Install MultiLipi and add languages
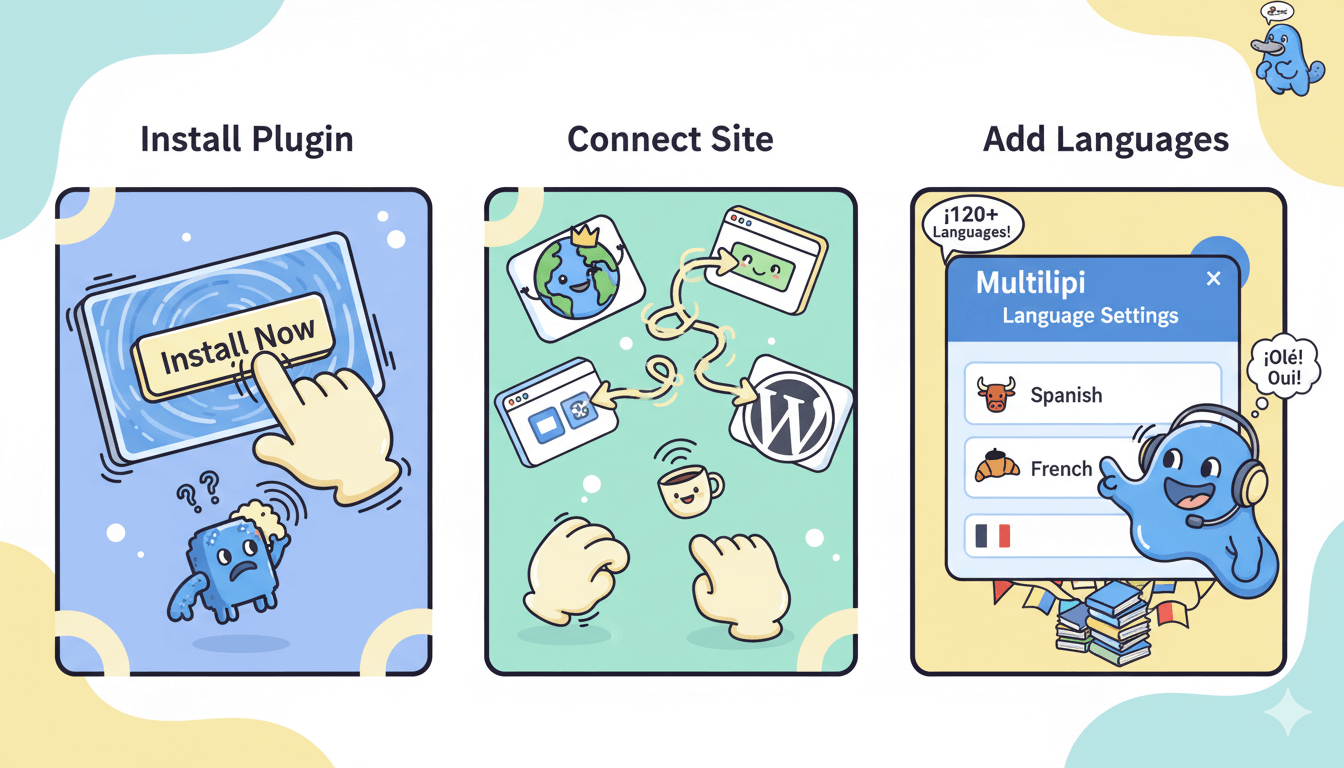
Install, connect, add languages, and place the switcher. Your first translations go live in minutes.
Install, connect, add languages
From your WordPress dashboard, go to Plugins → Add New and search “MultiLipi – Translate & Optimize Your Website for Multilingual SEO.” Install and activate. Open the setup screen, connect your site, then add your target languages.
Multilipi supports 120+ languages, generates language-specific URLs, and prepares translated metadata—so your pages are both readable and indexable. Run the first-pass AI translation on your core pages, then queue the rest.
Now follow the official setup guide to confirm everything is wired correctly. The guide walks through connecting, selecting languages, enabling automatic translation, and checking that multilingual SEO is turned on.
Use it as your checklist so you don’t miss a step on launch day.
quick_win: Translate only homepage, top product/service pages, and contact first. You can batch the rest later with the same workflow. – MultiLipi
Use the visual editor and place the switcher
Open the visual translation editor to spot-fix headings, menus, buttons, forms, and footer strings in context. This is faster than hunting through templates and lets non-technical teammates polish copy without risk.
Multilipi’s editor is designed for this “click-and-fix” workflow.
Add a language switcher in your header or primary navigation so visitors can change languages from any page.
The Multilipi WordPress setup guide includes placement steps—follow them, then test on mobile to ensure it’s reachable inside the burger menu. If your theme uses a sticky header, confirm the switcher remains visible while scrolling.
Answering a common question: Can you edit AI translations manually? Yes—review and improve any string in the visual editor, then republish. This hybrid flow keeps speed high while protecting quality on brand-sensitive pages.
Before you leave this section, open two or three translated URLs and check that content renders correctly and links resolve. You’ll formalize SEO signals next, but this quick smoke test catches theme quirks early.

Choose subdirectories or subdomains
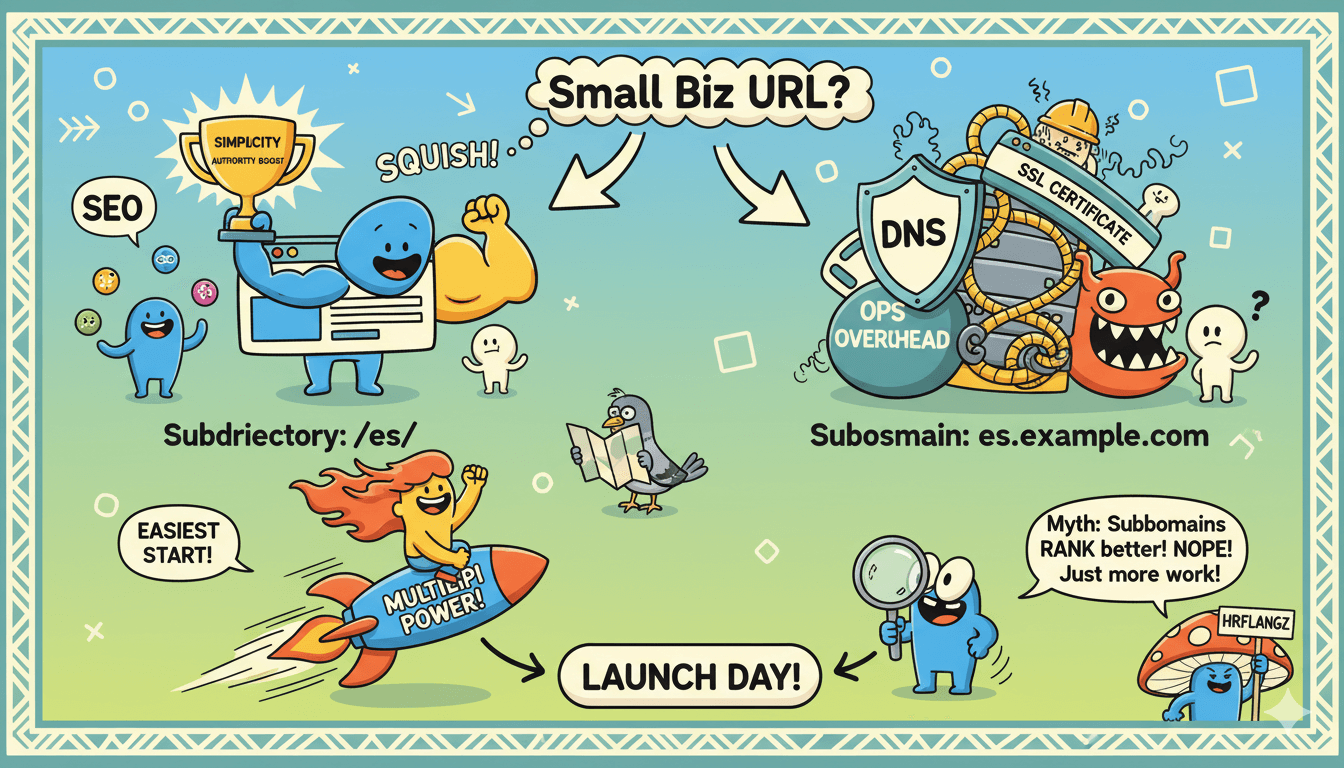
Default to subdirectories for simplicity. Use subdomains only if teams or stacks must be isolated.
Decision rules for SMBs
Pick subdirectories when you want one main site with language folders. Google recommends language-specific URLs and accepts subdirectories, subdomains, or ccTLDs, so choose the lightest path that meets your needs.
For most small businesses, subdirectories win on simplicity and authority consolidation.
Consider subdomains when you must separate operations. Examples include regional teams that need their own dashboards, integrations, or staged rollouts.
Hosting guides and recent multisite documentation show both patterns are supported, but subdomains add DNS, certificate, and ops overhead you should plan for.
If you are unsure, prototype your top two language sections in a staging site with subdirectories. Validate navigation, breadcrumbs, and internal links.
Confirm that each translated page will later receive correct hreflang alternates regardless of structure. Google’s documentation treats all three patterns as valid when implemented correctly.
myth_buster: “Subdomains rank better.” Not inherently. You trade operational overhead for isolation. Most SMBs gain speed by launching /es/ or /fr/ first, then revisiting structure only if org needs change. Experience write-ups echo this bias toward simplicity for small teams.
Configure chosen pattern in WordPress and your plugin
If you choose subdirectories, keep one WordPress site and enable language folders in your translation plugin. Ensure localized slugs are on, since Google wants language-specific URLs.
After you publish your first batch, verify alternates and language targeting with URL Inspection in Search Console.
If you choose subdomains, plan the extra steps. You will set up DNS records, SSL certificates, and either a multisite network or multiple installs.
Recent hosting docs outline subdomain and subdirectory multisite modes and note configuration changes when switching. Test your language switcher and menus across hosts before launch.
Avoid switching structures mid-implementation. Changing from subdirectories to subdomains forces URL migrations and hreflang rewiring. Decide once, then translate.
If you later must switch, schedule redirects, update sitemaps, and re-verify alternates to prevent indexing churn. – Google For Developers
Turn on multilingual SEO: URLs, hreflang, metadata
Give each language its own URL and link alternates with hreflang. Verify a few pages in Search Console.
Enable and verify hreflang + alternates
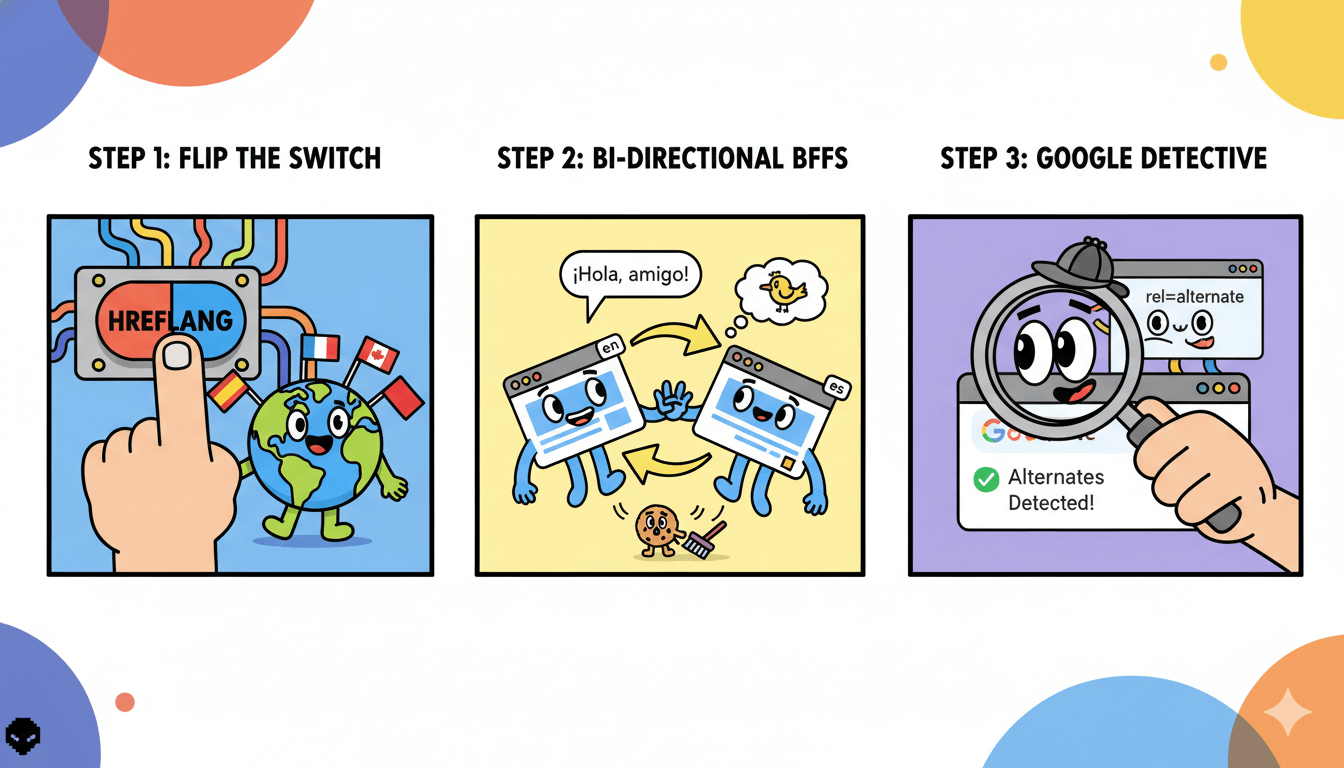
Turn on language-specific URLs in your plugin, then ensure each page lists its alternates. Minimum checks: valid language codes (es, fr-ca), one canonical per page, and bidirectional links so every alternate points back.
Google’s docs describe the intent, common patterns, and optional x-default for a language-selector homepage.
Verify in two places. First, view-source to spot rel="alternate" hreflang="…". Second, use URL Inspection in Search Console to confirm Google detects alternates for a few representative pages.
If you see “Alternate page with proper canonical” for language variants, ensure canonicals are consistent and alternates are complete. – Chrome
do’s_and_don’ts
Do keep one canonical per page and translate slugs. Don’t mix languages on a single URL or rely on cookies to swap language. These patterns align with Google’s guidance.
Translate metadata and submit sitemaps
Localize titles, meta descriptions, and slugs so each URL communicates its language. If you use an SEO plugin, follow its hreflang guidance and avoid duplicate titles across locales.
Industry primers from Rank Math and Yoast outline correct codes and common mistakes to avoid.
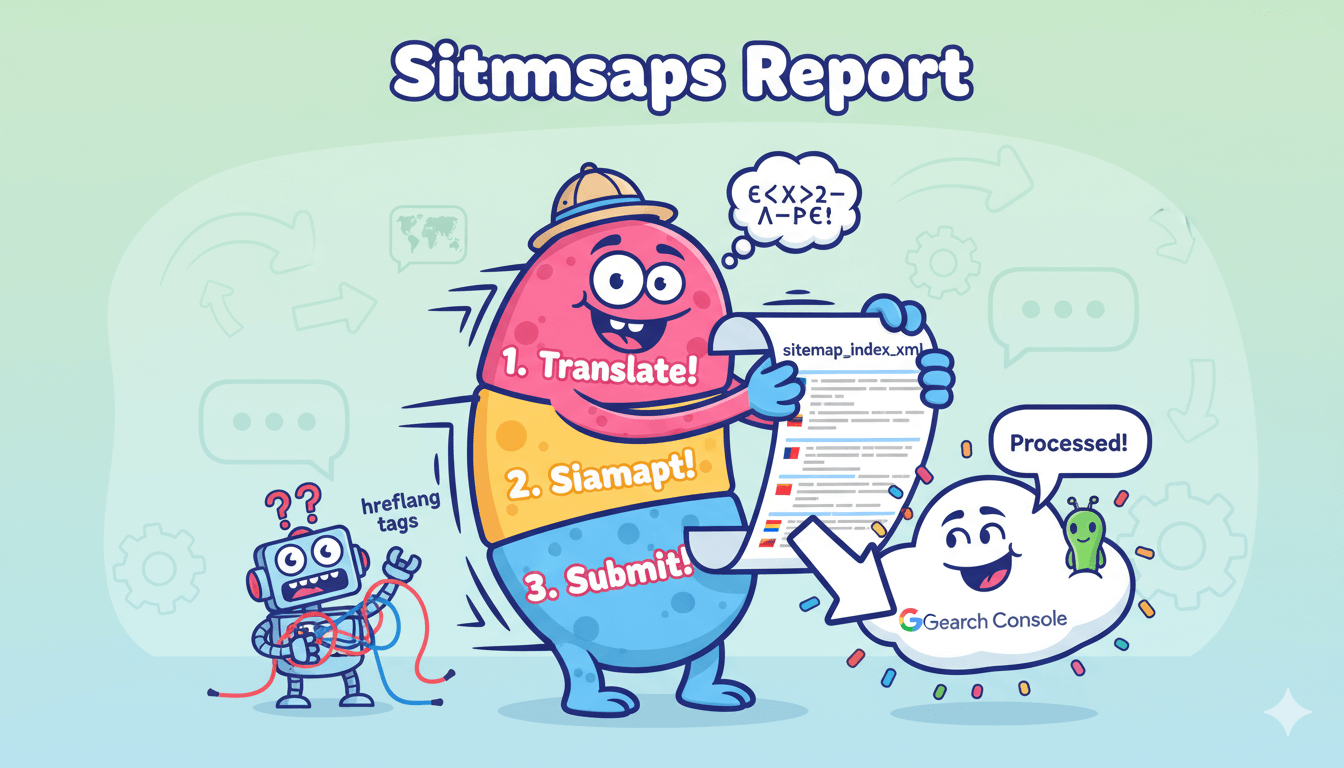
Create or update your XML sitemaps and submit them in Search Console. You can keep all languages in one sitemap index or separate per language.
WPBeginner’s walkthrough shows a current sitemap flow in WordPress, and Google’s help explains sitemap submission and monitoring. After submission, re-fetch a few URLs to confirm alternates.
If a plugin exposes a “multilingual sitemap” option, enable it so new translated URLs are auto-included. Some step-by-step guides also list a validation pass for hreflang inside sitemaps.
Use that only if your tool supports it, since link-element tags in HTML remain the primary signal on most setups.
Translate WooCommerce end-to-end
Translate products, cart, checkout, and emails. Place a test order in every language.
Products, categories, filters, search
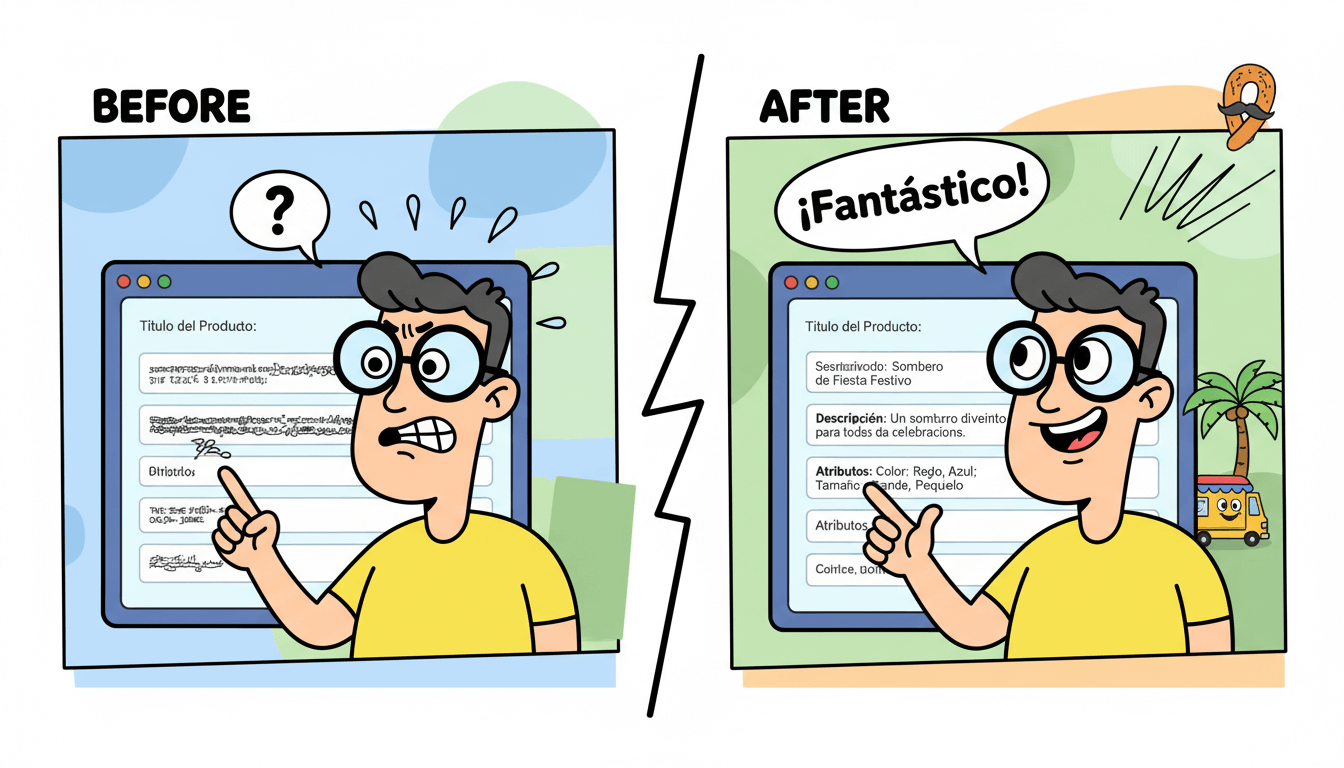
Start with high-impact products and categories. Translate titles, descriptions, attributes, variation labels, and SEO slugs so URLs and snippets match the language.
Keep attribute taxonomies aligned so layered navigation and product filters work across locales.
For interface strings that surface during browsing—like “Add to cart,” stock notices, or tax labels—use WooCommerce’s localization workflow (language packs, .po/.mo files, or a string editor) to ensure consistency across themes and extensions.
This string layer is documented by WooCommerce and applies regardless of the translation plugin you use.
If your theme or an extension adds UI text on product cards or category grids, check the vendor’s translation domain and confirm a translation file exists.
WooCommerce maintains guidance for translating official extensions, including when you need to supply a .po file or update strings that aren’t yet available in your target languages.
Cart, checkout, emails checklist
Walk the complete purchase path in each language. Translate checkout field labels, validation messages, and any theme-added notices. If you customize emails, translate those templates too.
WooCommerce’s documentation covers editing or creating custom email templates; after edits, ensure template strings are localized so customers receive confirmations in their language.
Now validate the flow with test orders. WooCommerce recommends testing orders on staging or using test modes for your gateway to simulate real purchases without charges.
This confirms cart, checkout, payment messages, and emails render as expected per language. Re-run a quick test after plugin, theme, or gateway updates. – WooCommerce
pro_tip: Keep a short QA script per language: add a product, apply a coupon, change quantities, error a field on purpose, complete checkout, and review the order confirmation email. Fix any untranslated strings before scaling to more products or another locale.
QA and performance: fast, accurate, stable
Run Lighthouse before and after. Fix LCP/CLS dips, then recheck menus and switchers.
Run Lighthouse and fix regressions
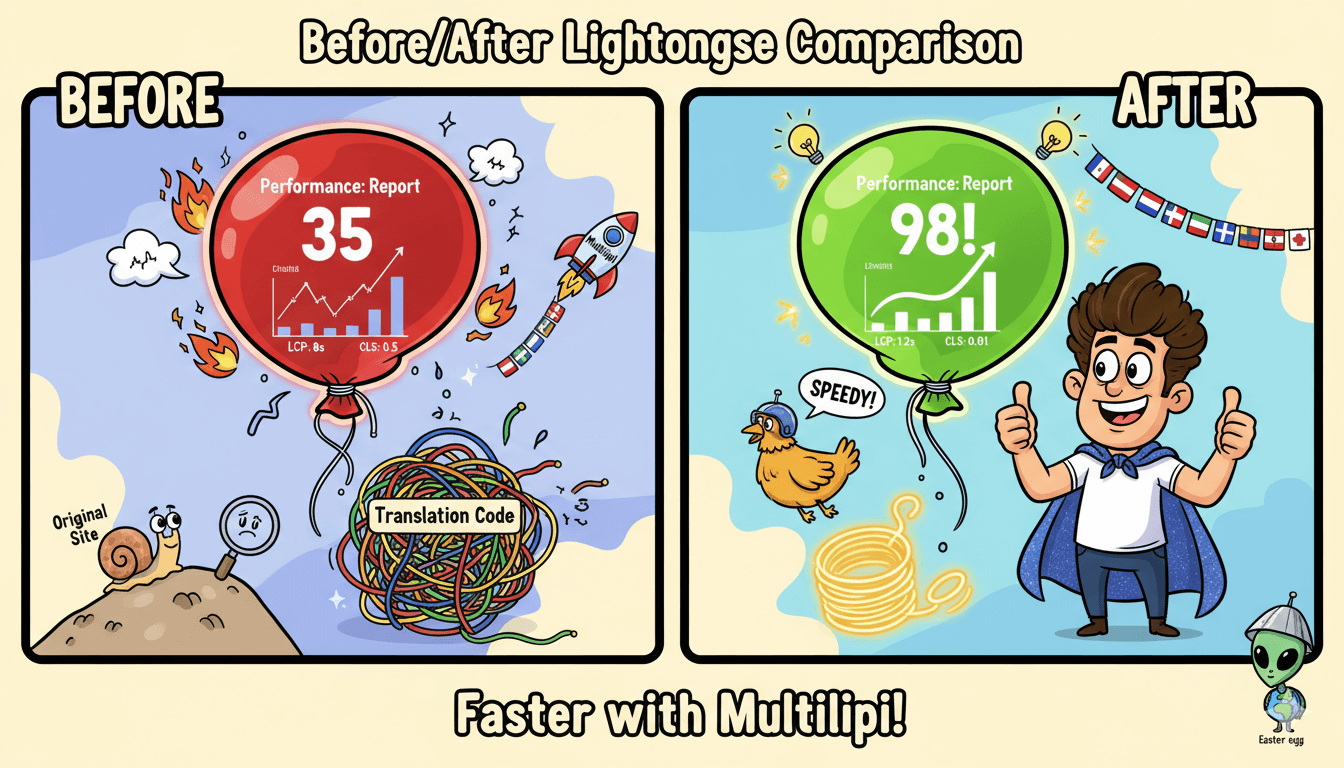
Start with a before/after Lighthouse pass on your homepage and one translated template page. Capture the report and watch the big three: LCP, CLS, and overall Performance.
Lighthouse explains how scores are calculated and which audits move the needle. If a metric drops after enabling translations or menus, fix images, fonts, and render-blocking requests, then re-test.
Repeat on mobile. Lab runs are a proxy, not real-user data, so avoid celebrating a score alone.
Use the same device and throttling profile for both runs so deltas are meaningful. Keep a short note of what you changed between tests. – JavaScript
pro_tip: If you need third-party validation, check an independent plugin scan to understand what a plugin adds, then measure on your stack. Tools like PluginTests show code footprints per version, but your theme and hosting decide real speed. Measure locally.
Human QA checklist for translations
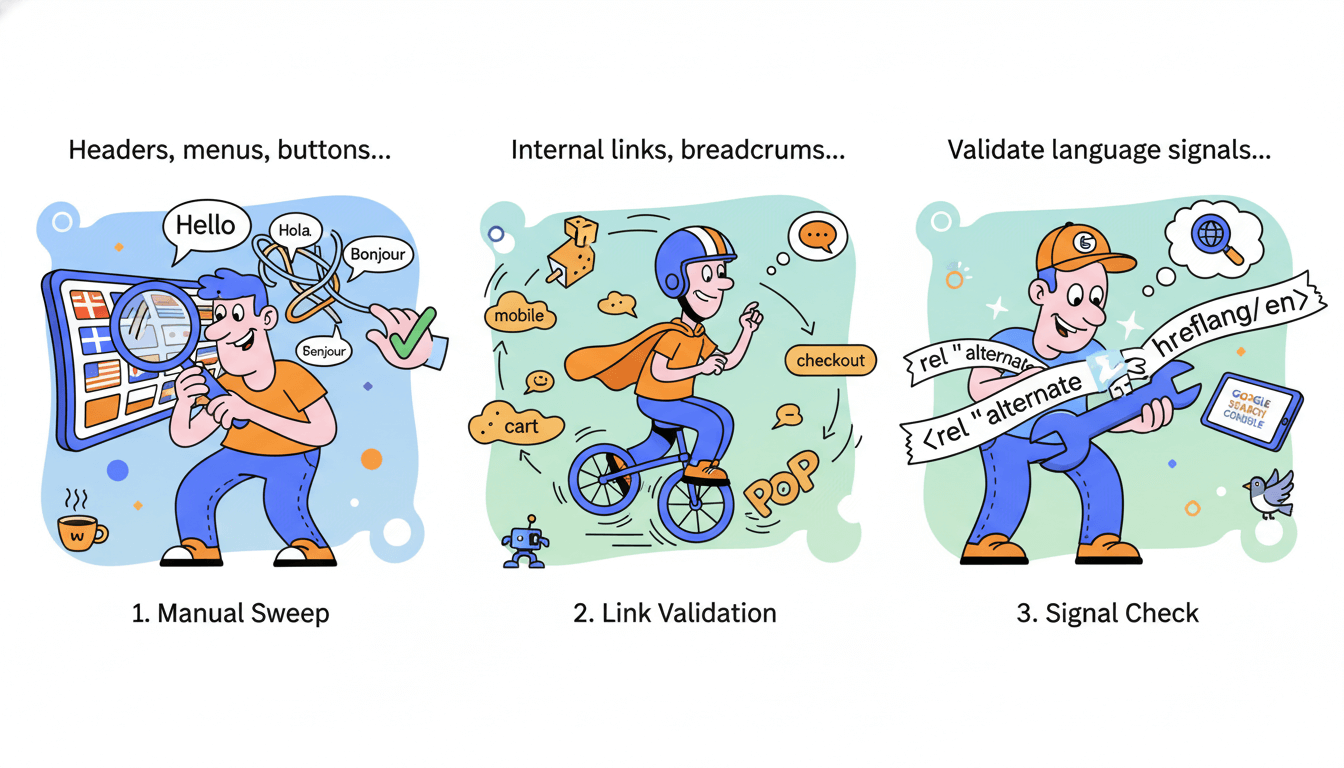
Do a fast manual sweep in each language:
- Headers, menus, buttons, and forms read naturally. Fix any awkward strings in the visual editor.
- Internal links, breadcrumbs, and the language switcher work everywhere, including mobile.
- Critical templates render fully: homepage, product or service pages, cart and checkout if applicable.
Now validate your language signals:
- View source and spot
rel="alternate" hreflang="…". Confirm valid codes and return links. Add optionalx-defaultfor a picker page. - Open URL Inspection in Search Console for a few translated URLs. Check indexing and whether alternates are detected. If you fix tags, request a recrawl.
micro_challenge: Pick one translated product or article. Click every link and form action. If you hit a mixed-language string or a broken link, fix it now and repeat the same check on the second language.
When this section passes—scores steady, strings clean, alternates verified—you are ready to submit sitemaps and monitor indexing.
Monitor indexing and Submit
Submit sitemaps, review translated URLs, and monitor hreflang coverage this week to ensure optimal site performance.
Submit multilingual sitemaps and inspect alternates
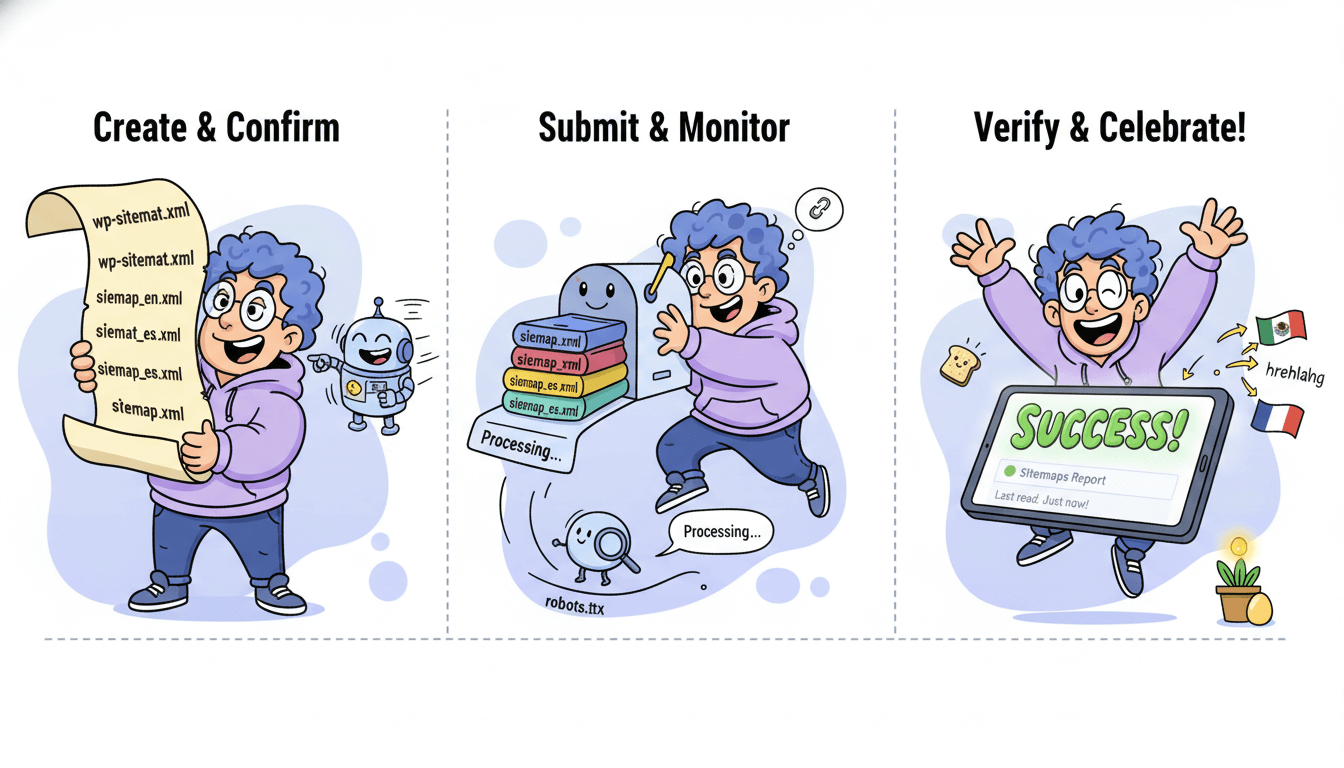
Create or confirm your XML sitemap. WordPress can expose wp-sitemap.xml, or your SEO plugin can generate segmented sitemap indexes.
Submit the sitemap path in Search Console → Sitemaps and monitor processing; adding the path in robots.txt is an acceptable alternative. Remember that submission is a hint, not a guarantee. – WPBeginner
Multilingual sites can keep all languages in one sitemap index or use separate files per locale. Either approach is valid; ensure only canonical URLs are listed.
Practical WordPress guides show both patterns and how to submit them in the Sitemaps report.
Now verify hreflang. Google’s internationalization docs explain how to connect localized versions with rel="alternate" hreflang="…", including optional x-default for a language-selector page.
After publishing, check a few pages in URL Inspection to confirm alternates are recognized. If tags are invalid or missing return links, fix and request indexing.
Track traffic and fix coverage issues
Use Coverage and Page indexing to catch crawl or canonicalization problems on translated URLs. If you see “Alternate page with proper canonical,” ensure canonicals and hreflang alternates are consistent across each language set.
The Lighthouse SEO audit can also flag pages “without a valid hreflang,” which helps surface pattern errors.
When a translated page isn’t indexed, open URL Inspection, test the live URL, and request indexing after you fix the cause.
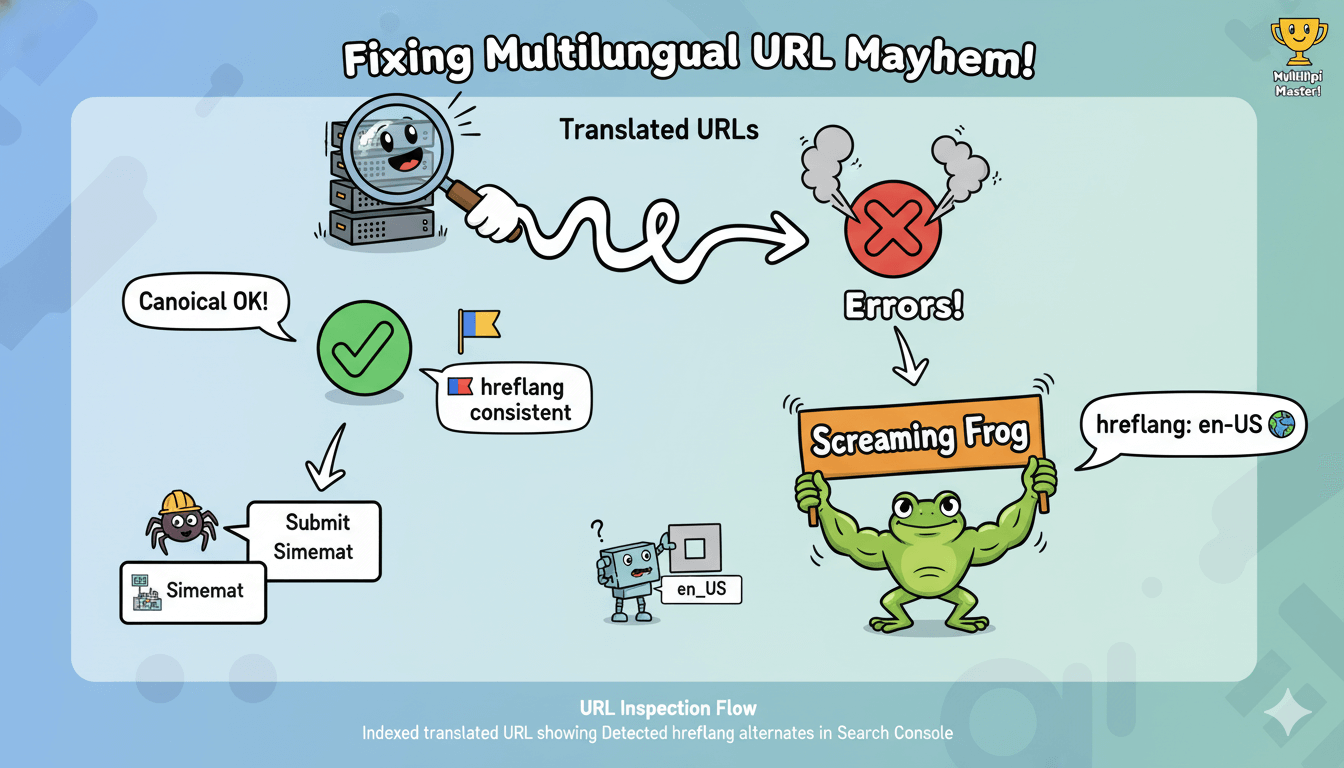
Typical fixes include adding the page to the sitemap, correcting noindex, repairing hreflang codes (use en-US, not en_US), and ensuring each alternate returns a link back.
As you expand into more languages, re-submit your sitemap after large batches and spot-check a representative set of URLs per locale.
Many teams also use external hreflang checkers or crawlers to audit alternates at scale; Screaming Frog documents how to report common hreflang errors from an entire site crawl.
Conclusion
You now have a clean, one-day workflow: install Multilipi, add 1–3 languages, choose subdirectories, translate your priority pages, then lock in multilingual SEO and verify.
Multilipi’s WordPress listing and site docs outline the install, language selection, AI pass, visual edits, and language switcher so setup stays simple.
Search needs clear signals. Give each language its own URL, connect alternates with valid hreflang, and keep a single canonical per page.
Google’s internationalization and sitemap guides show exactly what to implement and how to confirm it in Search Console. Submit your sitemap, then use URL Inspection to spot-check indexing and alternates.
Expect steady performance. Independent lab results for MultiLipi 1.1.0 reported an “insignificant” page-speed impact, yet you should still run before/after Lighthouse checks on your theme and hosting to verify LCP and CLS.
This preserves a fast experience as you roll out more locales.
If you build on modern Block themes or WooCommerce, follow trusted, recent walkthroughs from reputable WordPress sources.
Kinsta’s multilingual guides provide current patterns you can adapt as you scale, while WPBeginner’s step-by-step keeps the flow friendly for small teams.
Together they reinforce this playbook: launch small, validate early, expand with confidence.
Your next move is simple… publish the first two languages, submit sitemaps, validate alternates, and watch coverage for a few days.
When the metrics look good, add your next batch of pages or a new locale using the same steps. Repeat the loop and grow.

Multilipi: Go Multilingual in a Few Clicks Today!!!


